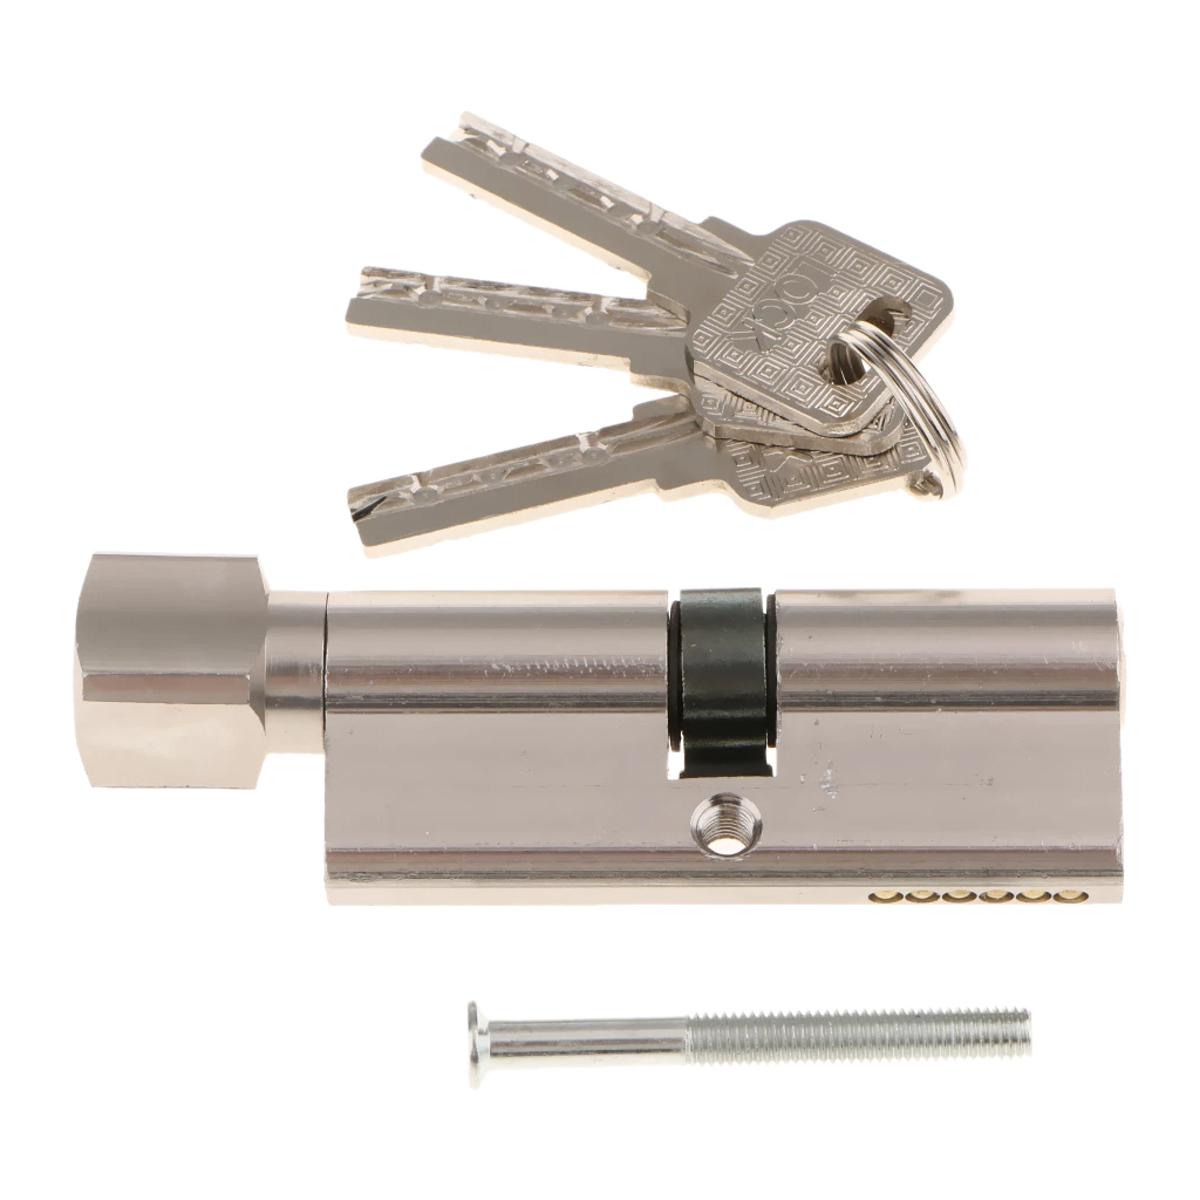
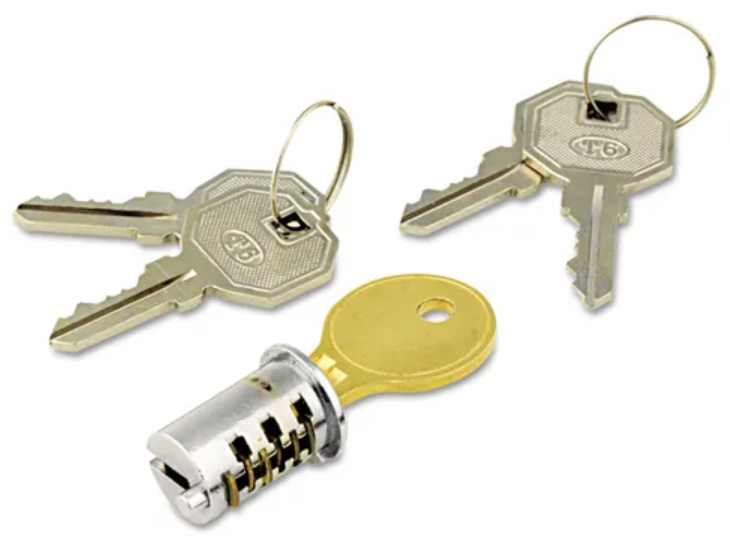
Swapping out a door lock core can refresh your security in no time. It’s the heart of your door lock, reading your key’s unique shape. While the task might seem daunting, it’s simpler than you think! With the right tools and some step-by-step guidance, you can change that lock core and boost your door’s safety. Whether you’re upgrading for better security or just replacing a worn-out lock, this guide will walk you through the process. Let’s see the door lock core and how to make this change with ease and confidence!
What is a Door Lock Core?
When you insert a key into a door lock, have you ever wondered what’s inside? That’s where the door lock core comes in. It’s the heart of many locks. The core is a central part that reads the key’s unique shape and allows (or denies) access. Think of it as the brain of your door lock.
Components of a Door Lock Core:
Tumblers or Pins: These are tiny pieces inside the core. They move when you insert a key.
Shear Line: This is a straight line inside the core. For the lock to open, the pins must align with this line.
Cylinder: This part houses the pins and the shear line. It’s the main body of the lock core.

How Does a Door Lock Core Work?
Imagine a puzzle. Your key is the missing piece. Here’s a step-by-step guide:
Insert the Key: You start by putting your key into the lock. The unique shape of the key will push against the pins inside.
Pins Move: As the key slides in, it pushes the pins. These pins have different lengths. They’ll move up and down based on the key’s shape.
Finding the Shear Line: The goal is to get all the pins to align perfectly with the shear line. If they do, you’re golden! If not, the lock won’t budge.
Turn the Key: Once all pins sit right at the shear line, the cylinder can turn. This movement unlocks (or locks) the door.
Access Granted (or Denied): If you have the right key, the door opens. If not, the pins block the cylinder from turning. That’s why it’s crucial not to force or wiggle the key too much. You don’t want to damage those delicate pins inside!
Why is the Lock Core Important?
Security: The core’s design ensures only the right key opens the door. A key with a different shape won’t align the pins correctly.
Flexibility: If you ever need to change your lock, you can just replace the core. You won’t have to buy a whole new lock.
Key Control: With a lock core system, you can have master keys. These special keys can open multiple doors, while regular keys can’t. It’s handy for places like offices or hotels.
How to Change a Door Lock Core?
Changing a door lock core might sound complicated, but with the right tools and a bit of patience, anyone can do it! Let’s break down the steps so you can handle this task with confidence.
Tools You’ll Need
New Lock Core: Ensure it fits your door and matches the type you’re replacing.
Screwdriver: A simple Phillips or flat-head, depending on your door’s screws.
Needle-Nose Pliers: These can help with small parts.
Steps to Change a Door Lock Core:
Open the Door: Start with the door open. It’s safer and gives you better access.
Locate the Screws: Most doors have screws on the side or face of the door. Find them.
Remove the Screws: Using your screwdriver, gently remove the screws. Place them somewhere safe; you’ll need them later.
Take Out the Doorknob or Handle: With the screws out, the doorknob or handle should come off easily. Pull it towards you.
Find the Lock Core: Inside, you’ll see the lock mechanism. The lock core is the cylindrical part where the key goes.
Remove the Retaining Clip: The lock core usually has a small metal clip holding it in place. Use your needle-nose pliers to remove it.
Push Out the Lock Core: With the clip removed, you can push the lock core out. Do this from the back, pushing it towards the front.
Insert the New Lock Core: Take your new core and slide it in where the old one was. Make sure the keyhole faces the right direction.
Replace the Retaining Clip: Use your pliers to put the clip back. It secures the new core in place.
Reattach the Doorknob or Handle: Slide it back onto the door. It should fit snugly.
Screw Everything Back: Take those screws you set aside and put them back. Tighten them, but don’t overdo it.
Test the New Core: Insert your new key and test the lock. It should turn smoothly. Try locking and unlocking a few times.
Tips for a Smooth Change:
Stay Organized: It’s easy to lose small parts. Keep a tray or bowl nearby to hold screws and clips.
Don’t Force Things: If something doesn’t fit, don’t push it. Check to see if you missed a step or if something’s blocking the way.
Ask for Help: Sometimes, a second pair of hands makes things easier. If you’re struggling, get a friend to assist.
Lubricate the New Core: A little lubrication can ensure your new lock works smoothly. Just a quick spray will do.
Taking Care of Your Door Lock Core
Maintaining your door lock core is simpler than you might think. Here are some quick tips:
Keep It Clean: Dust and dirt can get inside. A simple blow of air can clear the keyhole.
Lubricate: Every once in a while, use a lock lubricant. It keeps things moving smoothly.
Gentle Handling: Avoid using force. If your key isn’t turning, don’t push it. You might bend or break something inside.
Regular Checks: Once in a while, check your lock. Ensure it turns easily and the key fits well.

Final words
The door lock core is a marvel of design and engineering. It’s a tiny component, but it plays a big role in keeping our homes and spaces secure. Remember, it’s not just about having a lock; it’s about understanding and taking care of it. That way, you’ll always feel safe, knowing your door lock core is doing its job perfectly.
